Healthy Homemade Oreo Cookies (Gluten-Free, Paleo)
Recipe Key
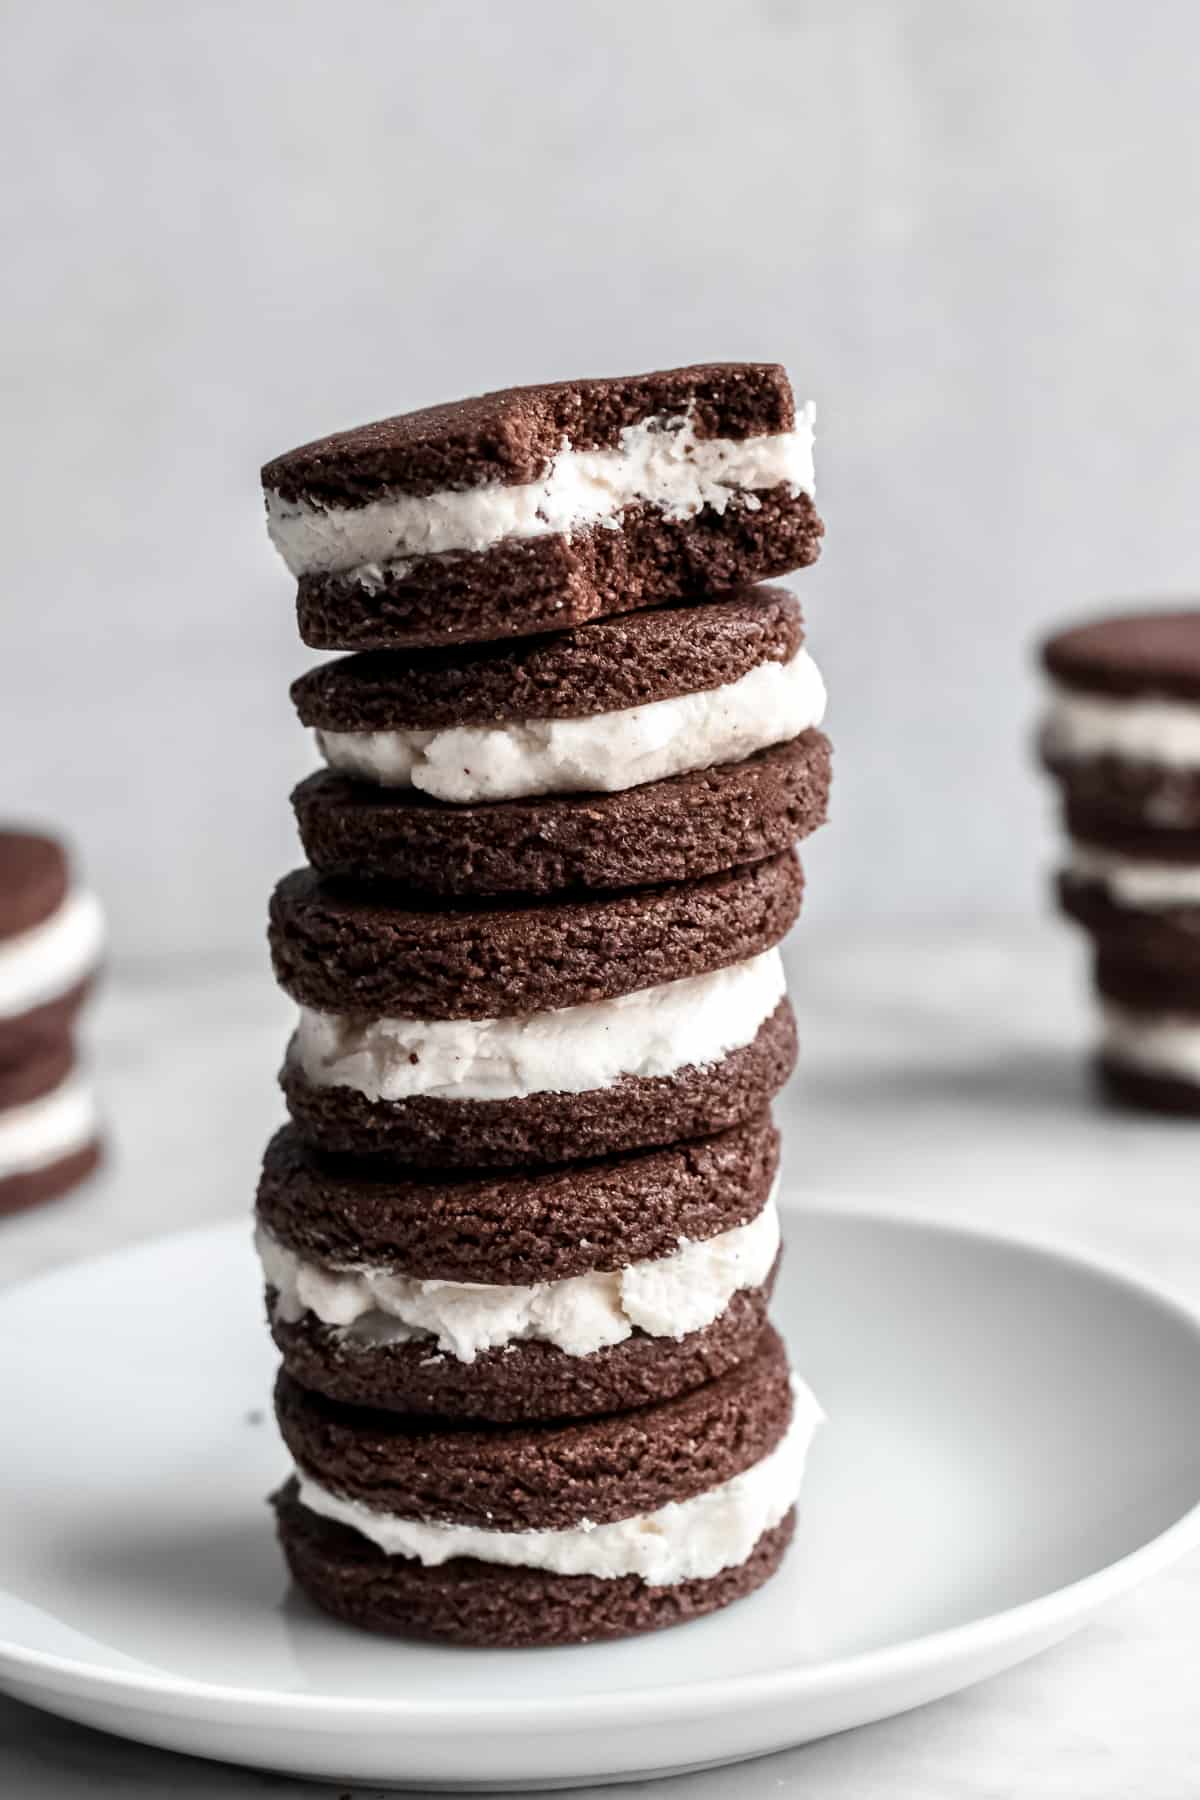
These Homemade Oreo Cookies are deliciously sweet and chocolatey, just like traditional Oreo cookies but made with healthier ingredients, gluten-free and dairy free. They taste amazing. You’ll feel good about eating this upgraded version.
These gluten-free oreo cookies are DANGEROUSLY DELICIOUS, you’re going to love them so much.
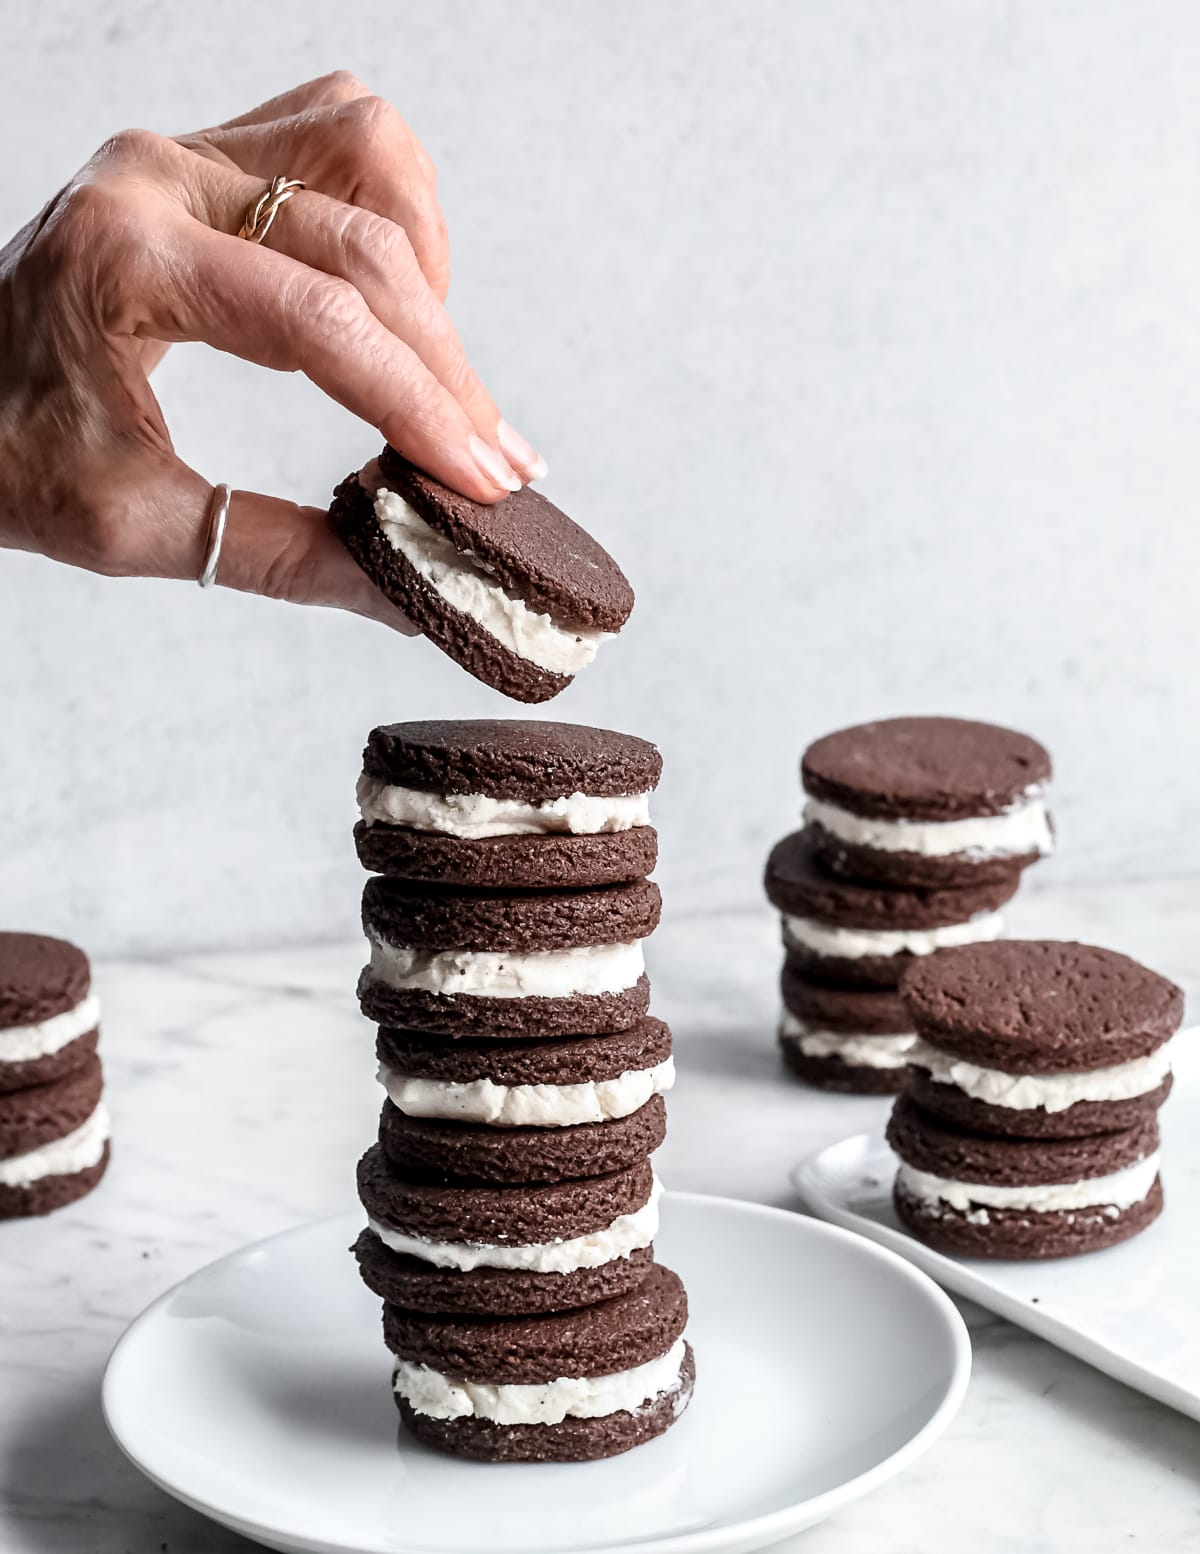
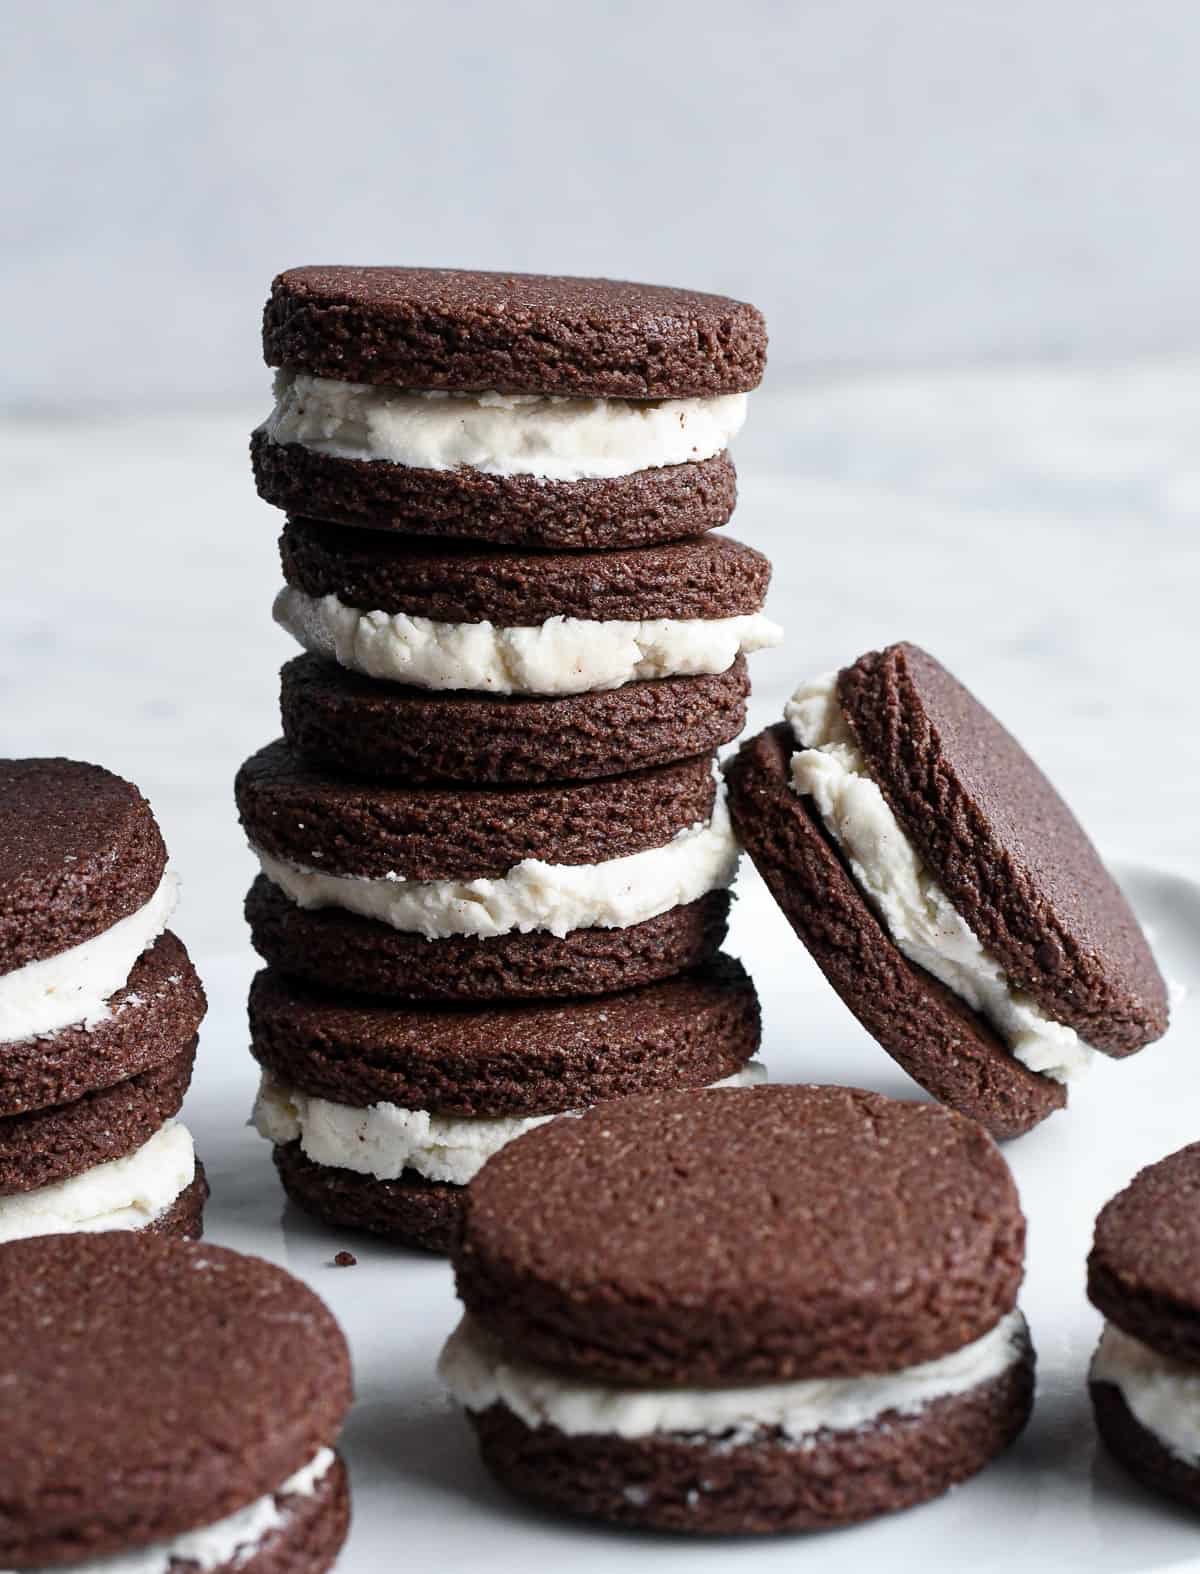
The dark chocolate, fudgy cookies are sandwiched together with a moist and creamy dairy free filling.
Organic powdered sugar makes them taste almost identical to store bought Oreos. But they are a little different, not quite as crispy. They have a moist, buttery homemade texture that is SOOO… GOOD.
This chocolate sandwich cookie is fun to make with your family. It’s great for holiday parties and cookie gift boxes. Everyone loves them.
Why You’ll Love These Healthy Homemade Oreos
- fudgy dense cookie
- sweet creamy filling
- healthier ingredients
- gluten-free and dairy-free
- fun to make with children or friends

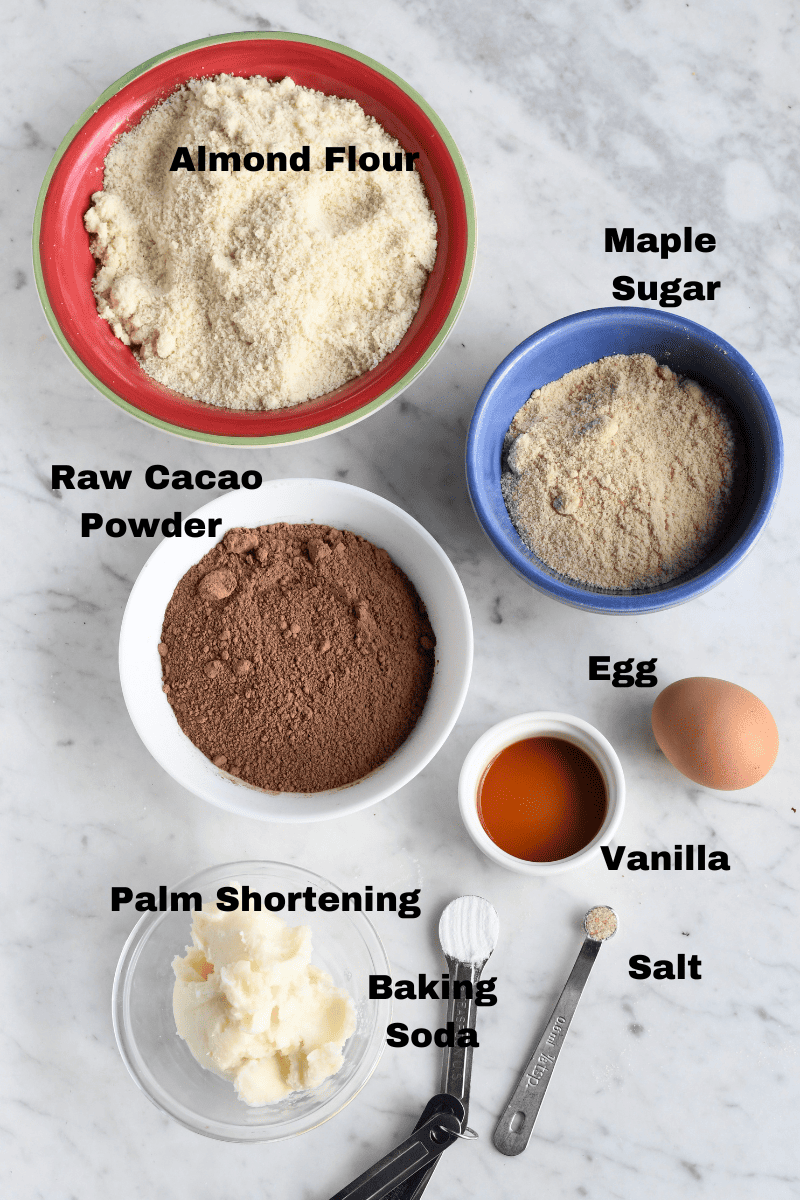
Ingredients For Gluten Free Oreos
Homemade Oreos are fabulous when you’re craving a sweet chocolate cookie but want something healthier and gluten free without any preservatives. This is what you need to make them:
- blanched almond flour – full of healthy fats and protein
- raw cacao powder – has antioxidant and anti-inflammatory properties
- sustainable palm shortening or vegan butter – to keep it dairy free, grass fed butter can be substituted
- maple sugar or coconut sugar – more nutrients than cane sugar
- organic vanilla extract
- pastured egg
- baking soda
- sea salt
Note: They will be a little crispier with maple sugar than coconut sugar but both are good.
How To Make The Cookies
There are detailed instructions are in the recipe card below. Here are the basic steps:
Step 1: Mix together the almond flour, cacao powder, baking soda and salt. Set aside.
Step 2: In a large bowl, using an electric mixer, cream together the shortening and maple sugar until smooth. It will take 2-3 minutes. Add vanilla and egg. Beat until smooth and fluffy, about 1 minute.
Step 3: Add the flour mixture and beat until you get a smooth, thick dough.
Step 4: Line 2 sheet pans with parchment.
Step 5: Divide the dough into half and place each one on parchment paper. I find it easier to work with a smaller amount of dough, but you can roll all the dough at the same time if you prefer.
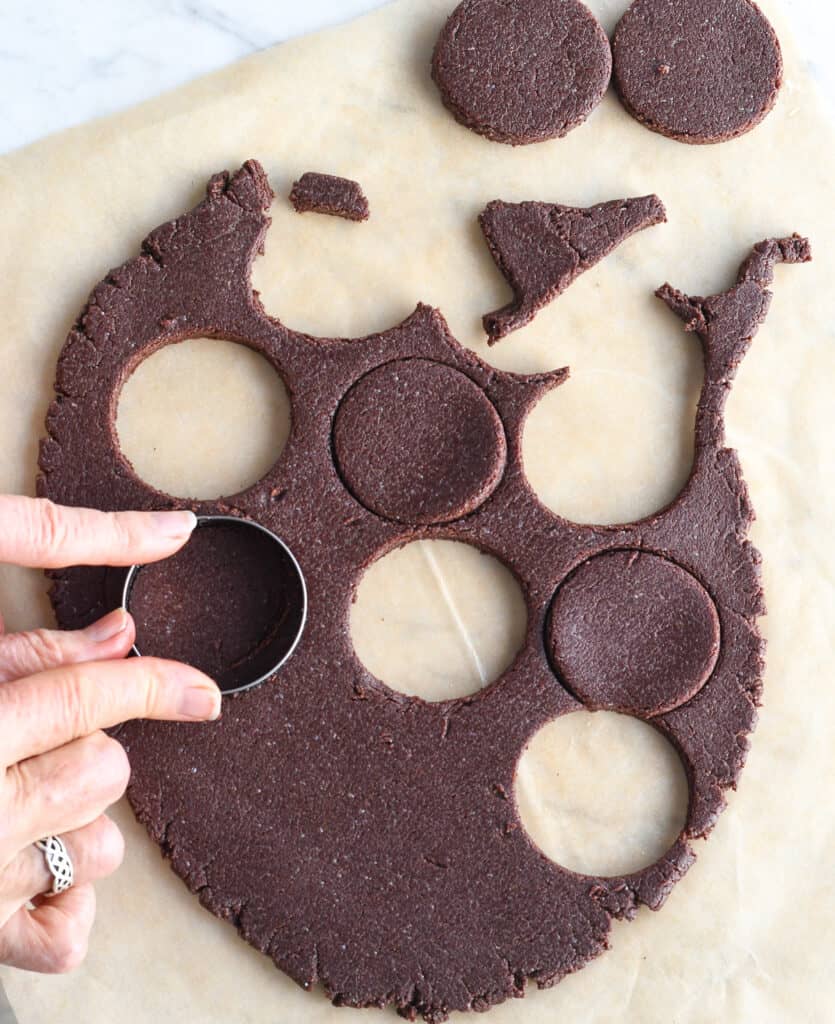
Step 6: Place the parchment and dough on the counter and place a second piece of parchment on top. Roll the dough to 1/4″ thickness. (If it’s sticking to the parchment refrigerate for 30 minutes).
Step 7 : Use a 2” circular cookie cutter to cut the dough, then carefully place the circles on to prepared baking sheets. Continue the rolling and cutting process, reforming the scrap pieces into a disk, rolling and cutting until all the dough is all used up. You’ll get about 36 single cookies to make 18 oreo sandwich cookies.
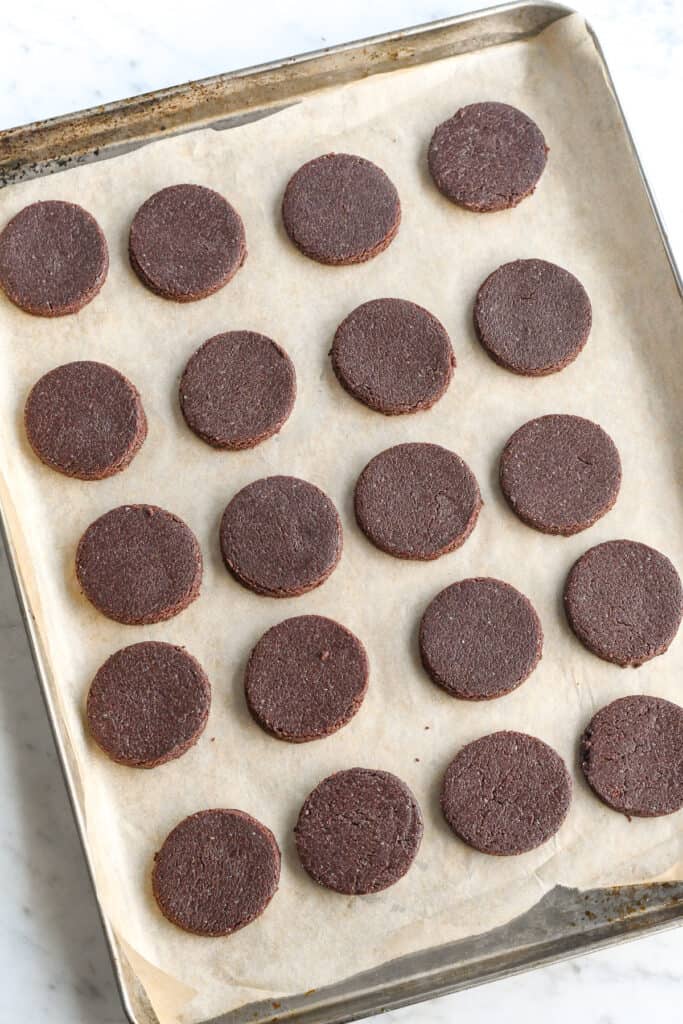
Step 8: Bake for 12 minutes or until the cookies are set.
Step 9: Remove from the oven and allow them to cool for 10 minutes on the baking sheets, then carefully transfer to wire racks to cool completely. Meanwhile, prepare the oreo filling.
How To Make Oreo Filling
The filling is very simiple and has 4 ingredients:
- organic powdered sugar or maple sugar
- sustainable palm shortening or vegan butter – grass fed butter can be used but it’s not dairy free
- vanilla
- nut milk or water
I use organic powdered sugar to make the filling white. If you want a healthier version you can use powdered maple sugar. A recipe for it is included in the notes of the recipe card.
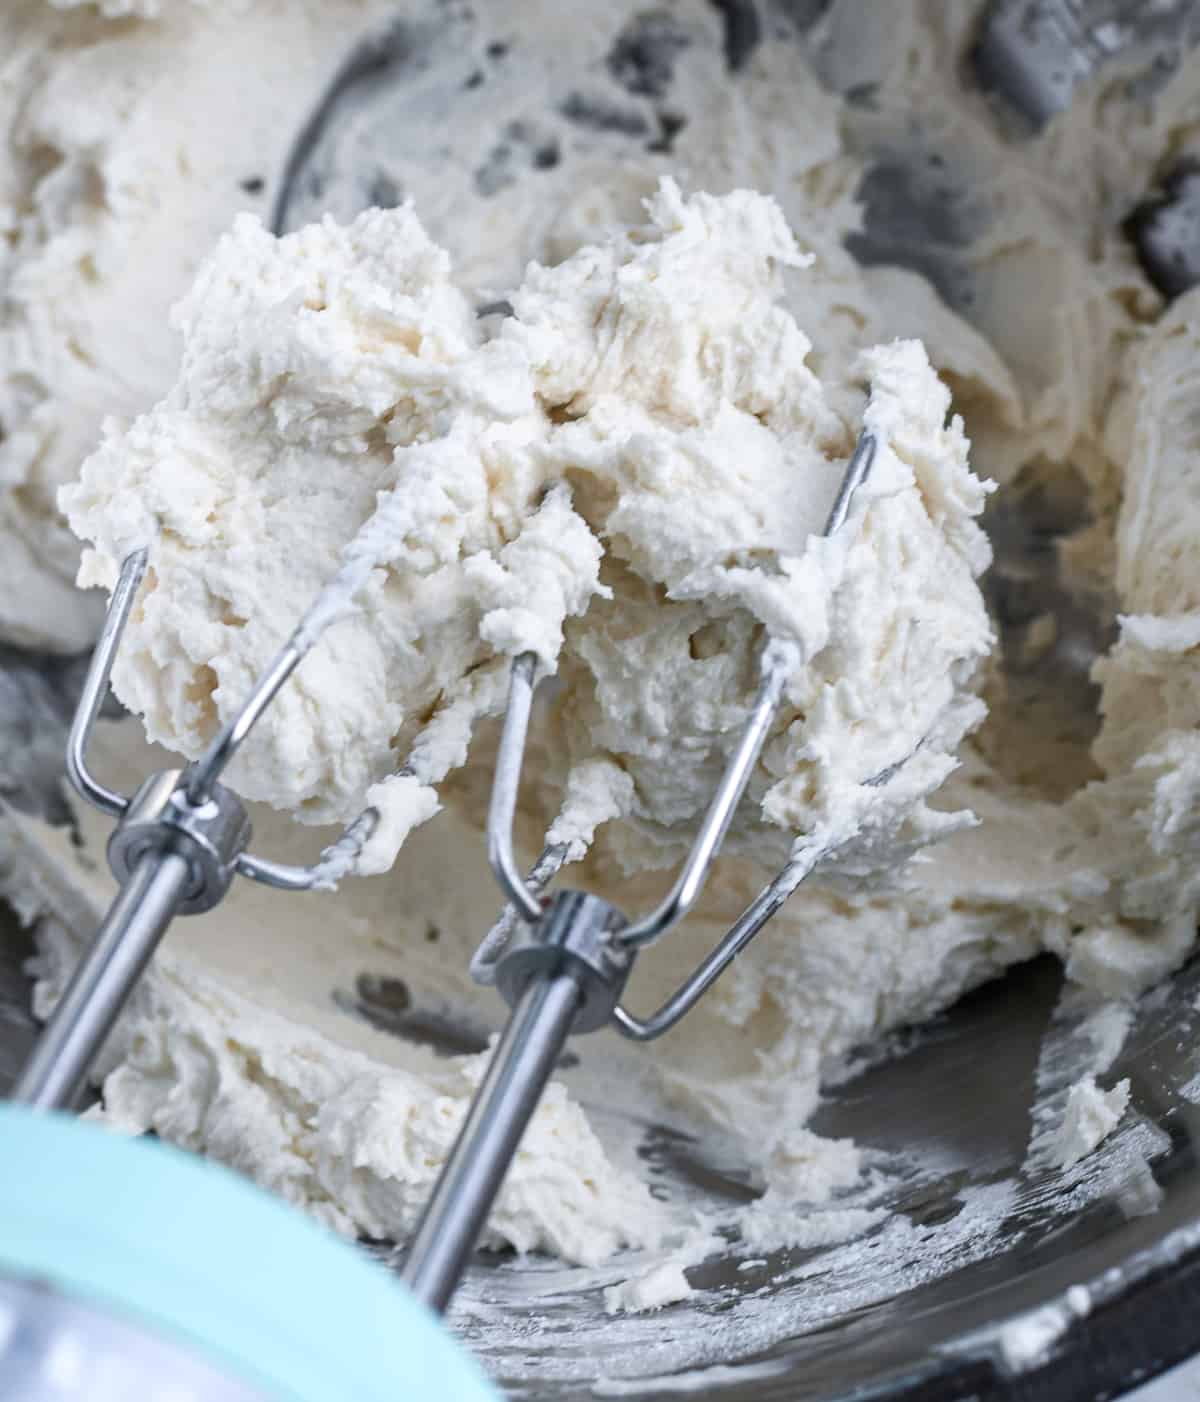
STEP 1: In a large bowl, beat the shortening or vegan butter on medium speed until smooth and fluffy.
Step 2: Beat in the powdered sugar and vanilla on medium speed.
Step 2: Once it begins to smooth out, beat on high speed to get it nice and smooth and fluffy. Add a few tablespoons of water or nut milk if the filling is too dry. The filling should be thick and smooth.
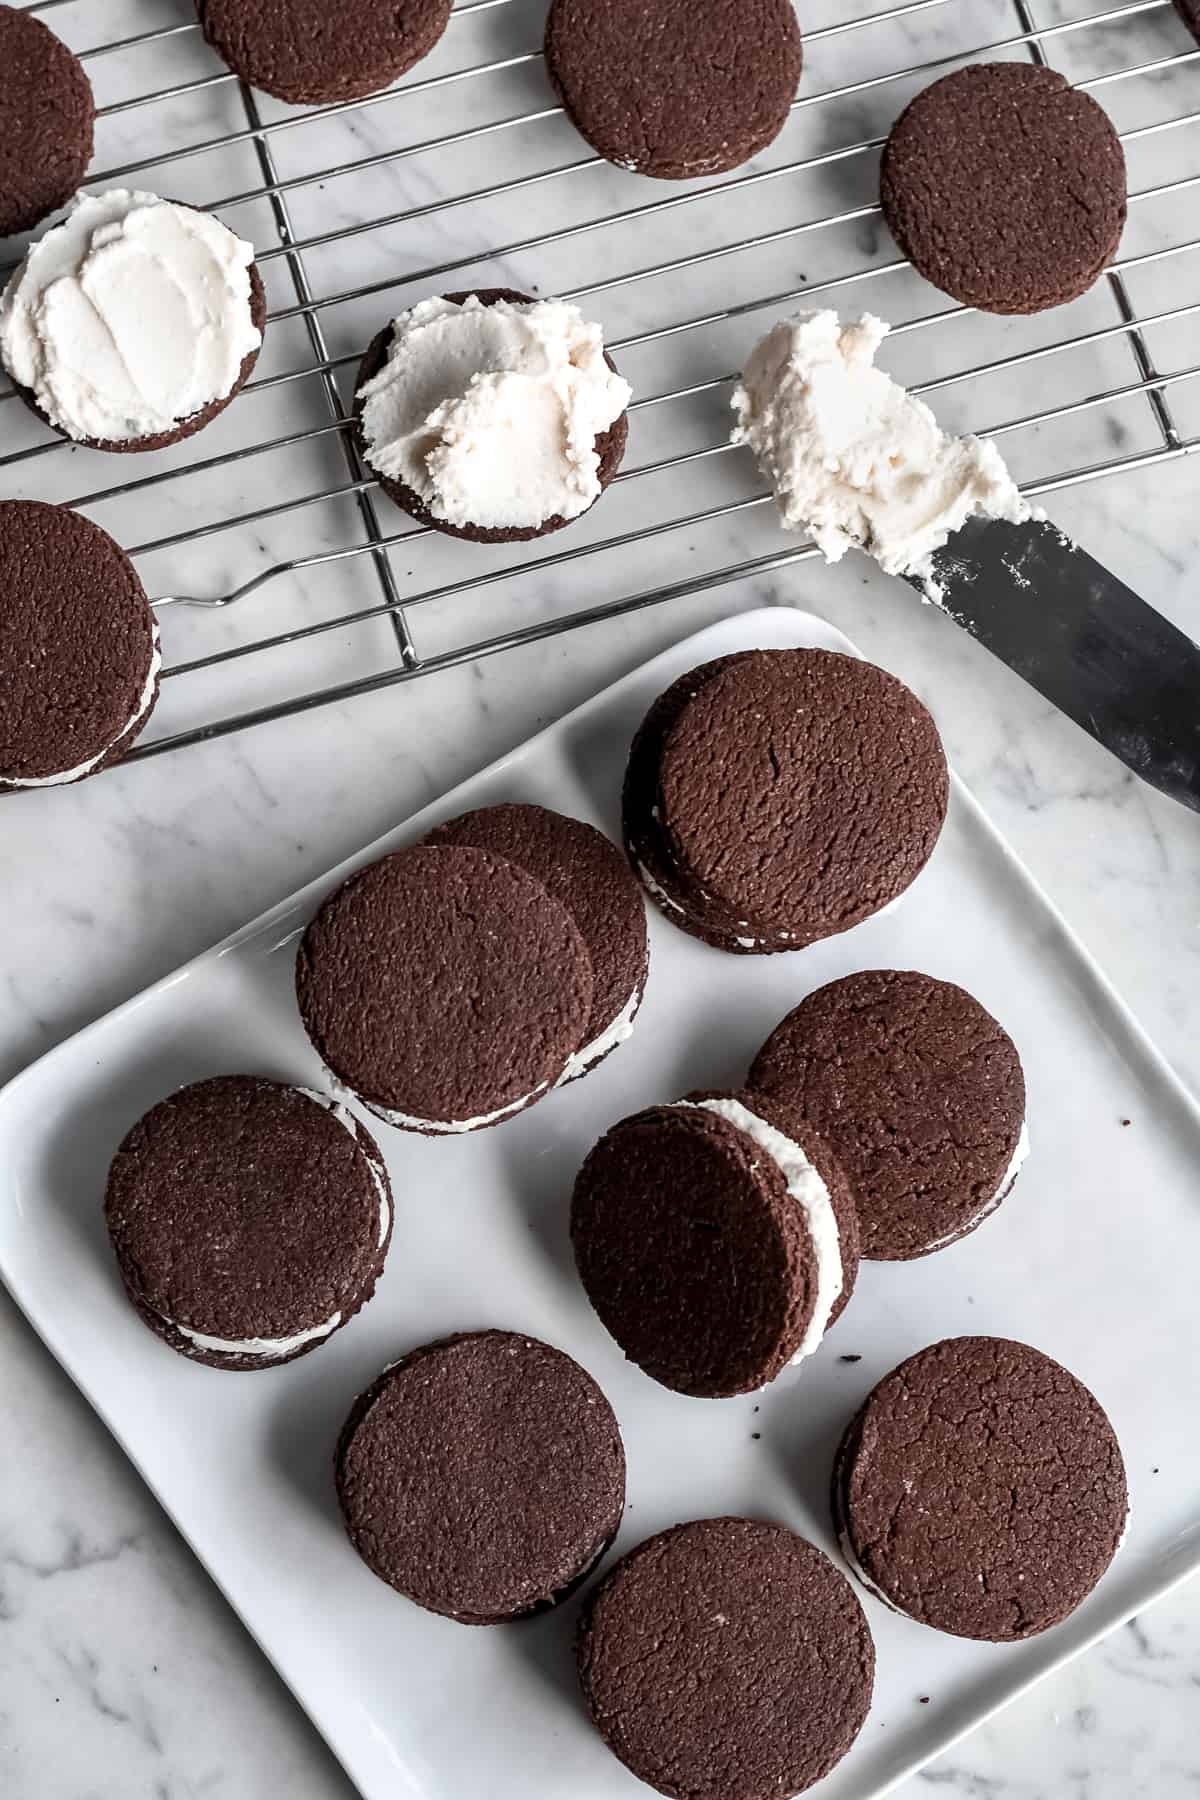
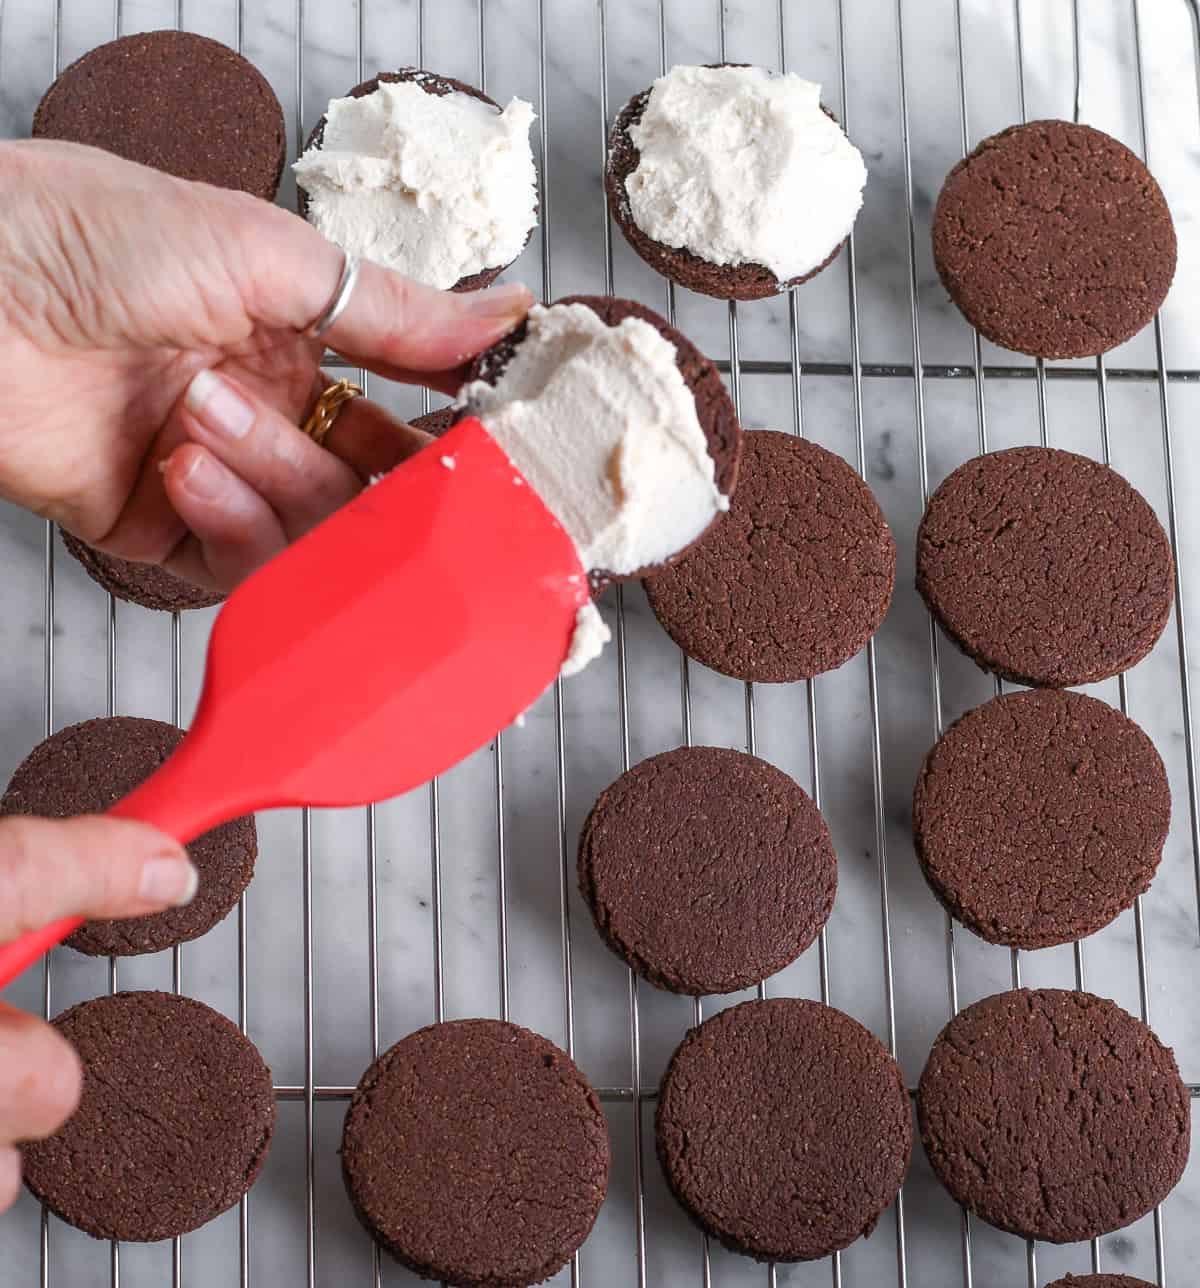
Assembling The Cookies
- Spread about 3 teaspoons of filling on the flat side of a chocolate cookie and top with another cookie, flat side down.
- Gently press down to create a sandwich. Repeat with the remaining cookies.
Serving and Storage
Enjoy the cookies immediately or save for later. If you’re making them with children or friends you’ll probably eat them as fast as you spread them.
Any remaining cookies can be stored loosely covered (to keep them crisp) at room temperature for up to 3 days, or cover and refrigerate to keep them longer, for up to 1-2 weeks. Enjoy!
If you like this recipe you may also want to try the other gluten free cookie recipes
- Almond Chocolate Sandwich Cookies
- Soft and Chewy Paleo Chocolate Chip Cookies
- Gluten Free Linzer Cookies
- Honey Roasted Almond Thumbprint Cookies
Would you like to have more of these delicious healthy recipes sent to you each week? CLICK TO SIGN UP for my weekly email newsletter of recipes and tips for you to eat well and enjoy your wonderful life.
⭐️ PLEASE RATE THE RECIPE!
Please leave a ⭐️ rating letting us know how you like the recipe! This helps my business thrive so I can continue to share these recipes with you. If have a question I will get back to you right away! Thanks, 💛 for supporting Eat Well Enjoy Life.
PrintHealthy Homemade Oreo Cookies

These Homemade Oreo Cookies are deliciously sweet and chocolatey just like traditional Oreo cookies but made with healthier ingredients, gluten-free and dairy-free. They taste amazing.
- Prep Time: 30 minutes
- Cook Time: 15 minutes
- Total Time: 45 minutes
- Yield: 18 cookies 1x
- Category: Dessert, Snack
- Method: Bake
- Cuisine: Dairy Free, Gluten Free, Paleo, Vegetarian
Ingredients
Homemade Oreo Cookie Dough
- 2 cups blanched almond flour (224 grams)
- 3/4 cup cacao powder (72 grams)
- 1/2 teaspoon baking soda
- 1/8 teaspoon sea salt
- 1/2 cup sustainable palm shortening or vegan butter (100 grams)
- 3/4 cup maple sugar or coconut sugar (135 grams)
- 2 teaspoons organic vanilla extract
- 1 large pastured egg at room temperature
Oreo Filling
- 1/2 cup sustainable palm shortening or vegan butter
- 1 1/2 cups organic powdered sugar or powdered maple sugar* (see above for how to make)
- 1 teaspoon organic vanilla extract
- 1–2 Tablespoons nut milk or water, if needed
Instructions
Homemade Oreo Cookies
- In a medium bowl mix together the almond flour, cacao powder, baking soda and salt. Set aside.
- In a large bowl, using an electric mixer on medium, cream together the shortening and maple or coconut sugar until smooth. It will take 2-3 minutes.
- Add vanilla and egg. Beat until smooth and fluffy, about 1 minute.
- Add the flour mixture and beat until you get a smooth, thick dough. Use a spatula if it gets too thick for your mixer.
- Divide the cookie dough in half.* Place each half on a large piece of parchment paper. Flatten each one into a disk. Wrap one in the parchment paper and put into the refrigerator.
- Preheat your oven to 325° F.
- Line 2 sheet pans with parchment or do in batches.
- Place the unrefrigerated half of the dough and parchment paper onto the counter and place a second piece of parchment on top. Roll the dough to 1/4″ thickness. (If it’s sticking to the parchment refrigerate for 30 minutes)
- Use a 2” circular cookie cutter to cut the dough, then carefully place the circles onto the prepared baking sheets. Continue the rolling and cutting process until the first batch of dough is used up, reforming the scrap pieces into a disk, rolling and cutting until all the dough it’s all used up.
- Remove the second disk from the refrigerator and cut into circles until all the dough is used up.
- You’ll get about 36 single cookies to make 18 oreo sandwich cookies.
- Place cookies into the oven once you have a full sheet and bake for 12 minutes or until the cookies are set.
- Remove from the oven and allow them to cool for 10 minutes on the baking sheets, then carefully transfer to wire racks to cool. completely. Meanwhile, prepare the oreo filling.
Oreo Filling:
- In a large bowl, beat the shortening or vegan butter on medium speed until smooth and fluffy.
- Beat in the powdered sugar and vanilla on medium speed.
- Once it begins to smooth out, beat on high speed to get it nice and smooth and fluffy. Add a few tablespoons of water or nut milk if the filling is too dry. The filling should be thick and smooth.
Assembling The Cookies:
- Spread about 3 teaspoons of filling on the flat side of a chocolate cookie and top with another cookie, flat side down. Gently press down to create a sandwich. Repeat with the remaining cookies. You will get about 18 cookies.
- Store the cookies loosely covered (to keep them crisp) at room temperature for up to 3 days, or cover and refrigerate to keep them longer, for up to 1-2 weeks. Enjoy!


Notes
I find it easier to work with a smaller amount of dough, but you can roll the all the dough at the same time if you prefer.
Powdered maple sugar will make the cream filling a little darker, it won’t be as white.
How to Make Your Own Powdered Maple Sugar
Add 1 cup maple sugar to a high-speed blender. Make sure it’s totally dry.
Blend on high until it has a powder-like texture, 2-3 minutes.
Measure after blending.
These cookies are delicious! Thank you for your wonderful recipes Ingrid.
Thanks Janice I’m so happy you liked them. They taste delicious and are fun to make.
Thanks!
Hi Ingrid.. can I use butter (grass-fed from my farmer) instead of palm shortening? Thanks!
Hi Charlotte, yes it will be fabulous with grass fed butter. My son wants me to make it that way next time. Enjoy the cookies.
Yummy
You want to share these immediately or else you will have to make a new batch!
Thanks, yes we always eat them right away. If I’m sharing with friends I make a double batch. Thanks for your appreciation.
Thanks
Thanks for your appreciation.