Paleo Pumpkin Pie (Gluten Free)
Recipe Key
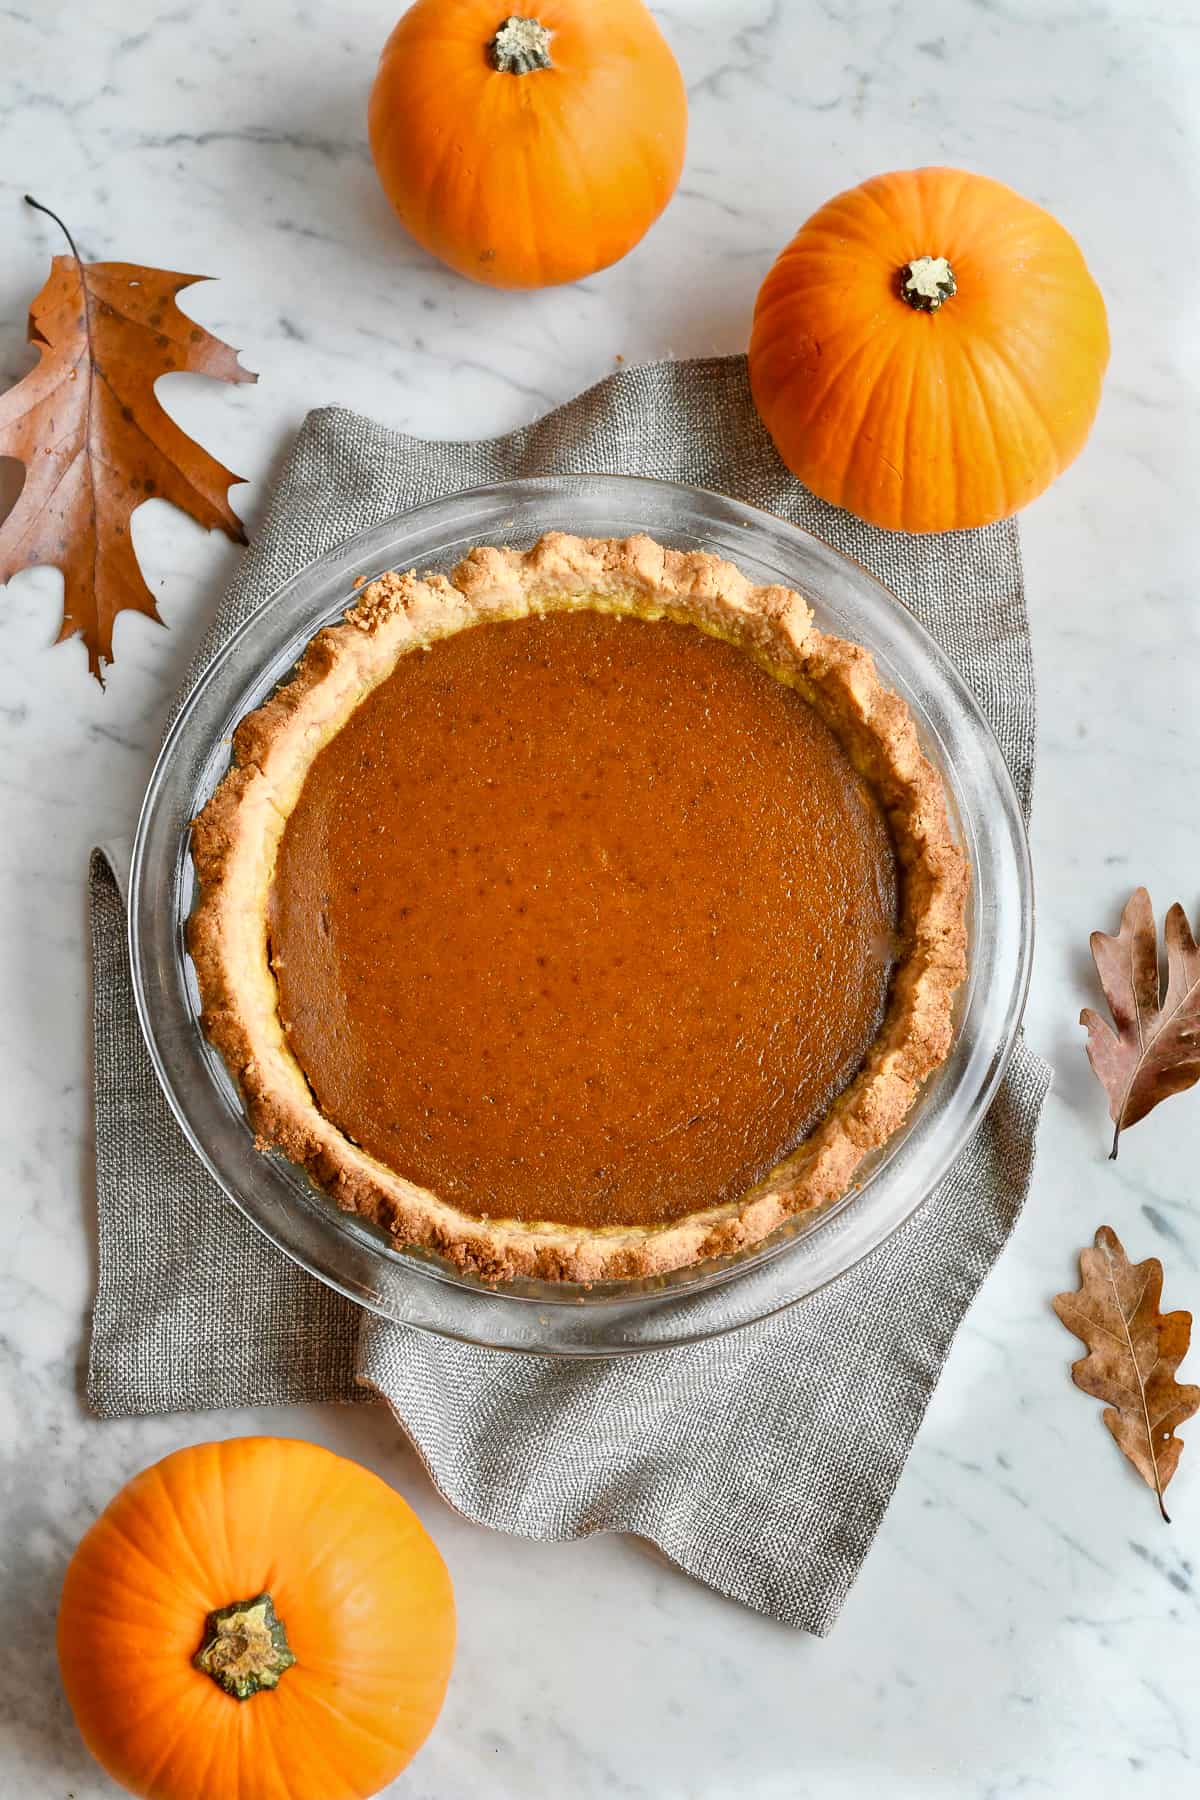
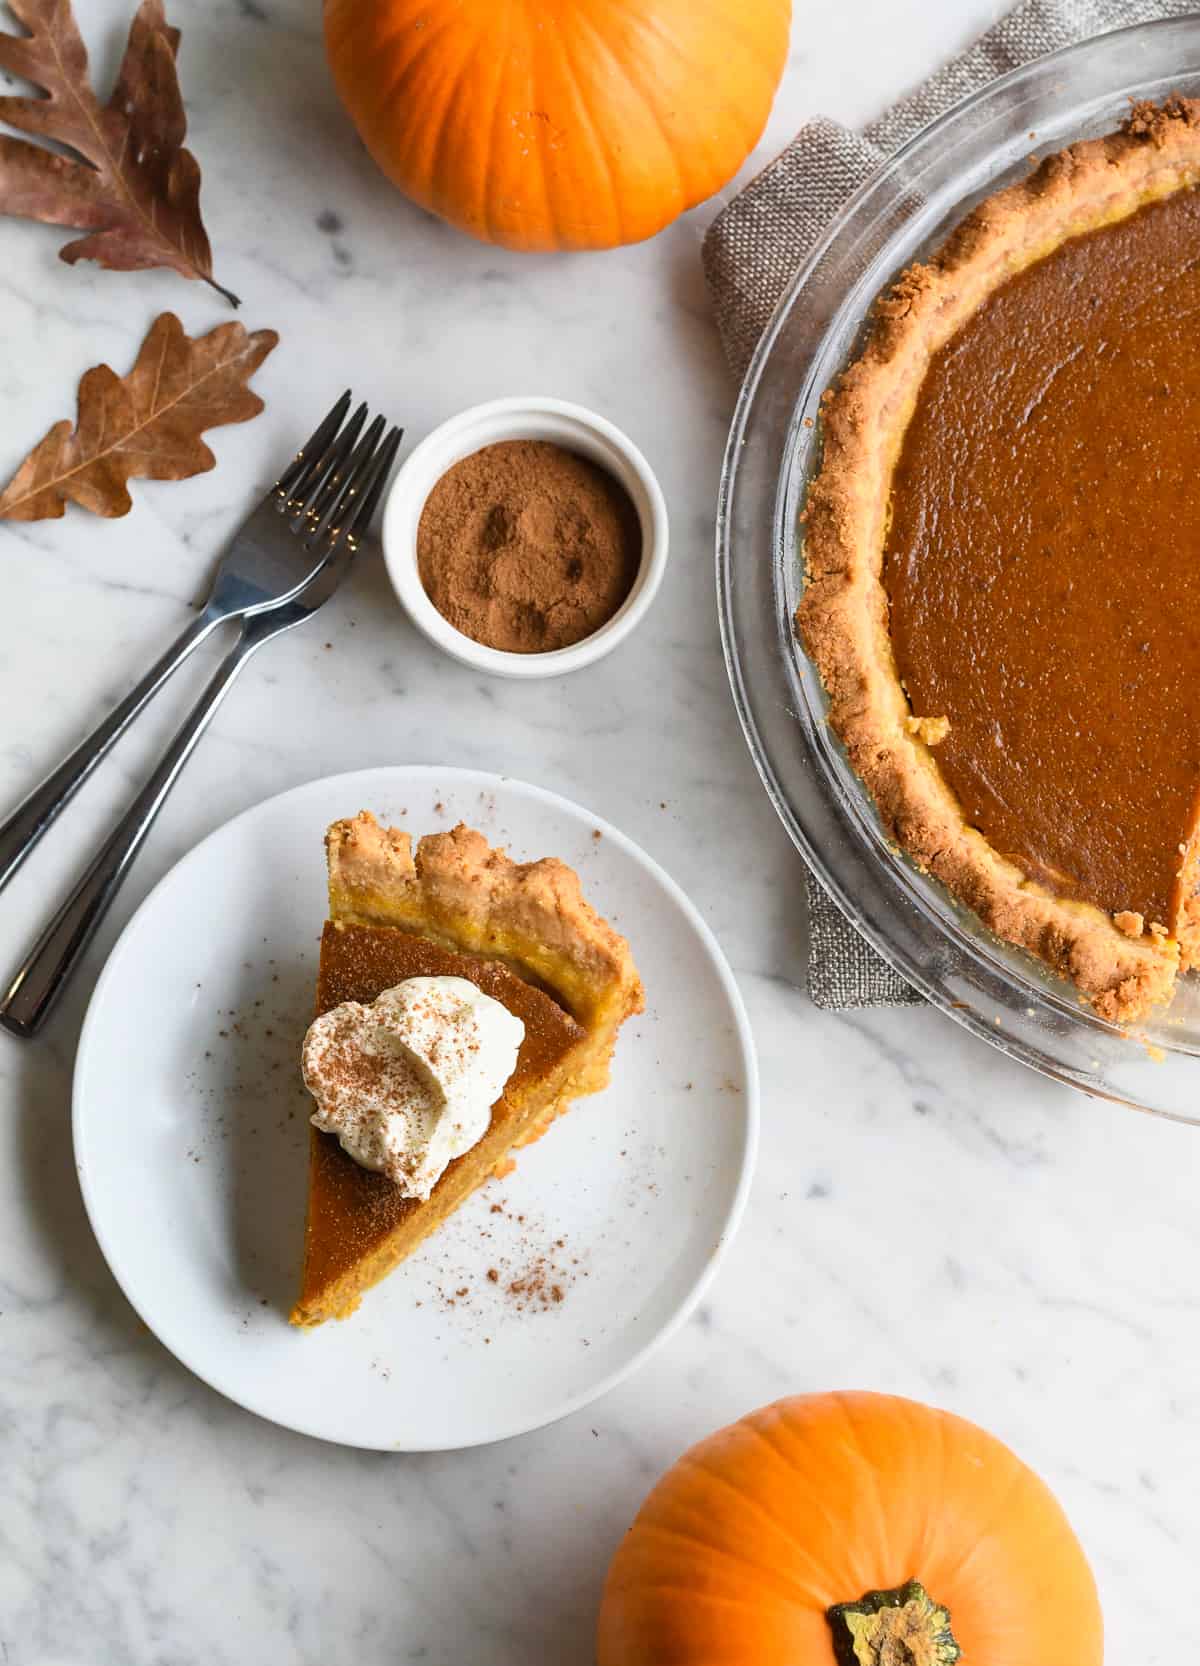
This is my absolute favorite pumpkin pie. It has a super rich and creamy pumpkin filling baked inside a flaky and buttery almond flour crust. The recipe is totally dairy free, grain free, and gluten free but just as delicious as any traditional pie you’ve ever made. A holiday dessert everyone will love.

I have been having lots of fun creating this pumpkin pie recipe. I made it 3 times before I got the creamy consistency I was looking for. We ate it for breakfast, snack and dessert. I also froze some.
It’s designed to be dessert but all of the ingredients are so wholesome you can enjoy a slice for your post-Thanksgiving breakfast.
What Makes This Pumpkin Pie So Special
I wanted a rich and creamy paleo pumpkin pie that’s gluten free, dairy free and without any refined sugar.
Traditional pumpkin pie is made with evaporated milk, which is milk that has been heated to evaporate 70% of the water. The resulting liquid is creamier and thicker than regular whole milk.
In this recipe I use cashew cream instead of evaporated milk. It’s nice and thick with a sweet delicious taste. The recipe for it is simple, just cashews and water. Plan ahead, they need to soak for at least 30 minutes before blending.
I made one version of the pumpkin pie with full fat coconut milk and it was good but the cashew milk is much better.
The gluten free crust is made without any grains, holds together nicely, it’s deliciously flakey and golden.
The pumpkin filling is sweetened with maple syrup and maple sugar or coconut sugar. These are sweeteners with nutrients.

Ingredients for Paleo Pumpkin Pie
Crust
- Almond flour – blanched, superfine, not almond meal
- Coconut flour
- Tapioca flour
- Palm shortening or grass fed butter or use a combination of both
- Maple sugar or coconut sugar – the crust will be darker with coconut sugar
- Fine grain sea salt
- Pastured egg
Filling
- Pumpkin puree, canned
- Cashew cream or full fat coconut milk
- Maple syrup
- Maple or coconut sugar
- Organic vanilla extract
- Pumpkin pie spice
- Cinnamon
- Pastured eggs
Tips For Making The Crust
The easiest way to make the crust is in a food processor but if you don’t have one you can use a fork, pastry cutter or your fingers.
Use room temperature eggs.
Be sure your shortening or butter is chilled before you begin.
Stir together the almond flour, coconut flour and tapioca. I sift it right into the food processor. Add the shortening or butter (your choice) maple sugar and salt to mixing bowl.
Pulse until you get thick crumbs, just a few pulses. If you’re not using a food processor, cut the shortening in using a pastry cutter, a fork, or your fingers until you have a crumbly mixture. Pulse or add in the eggs until a dough forms.
Gather into a ball and wrap in plastic. I don’t like using plastic but in this case it works best. If you don’t have any plastic wrap, use parchment paper. Chill for at least 20 minutes.
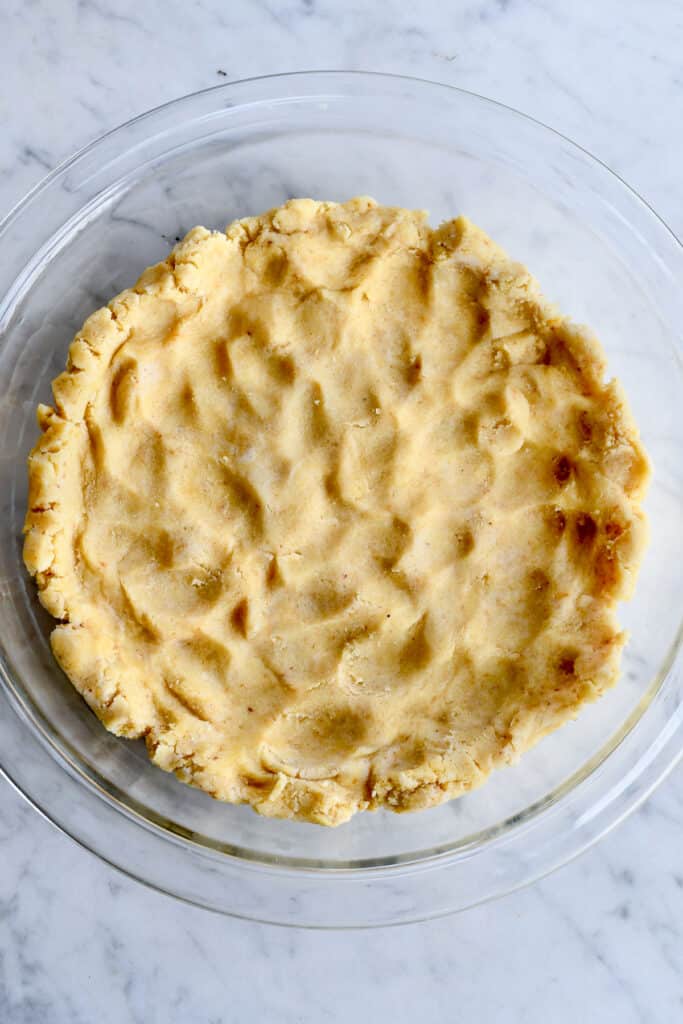
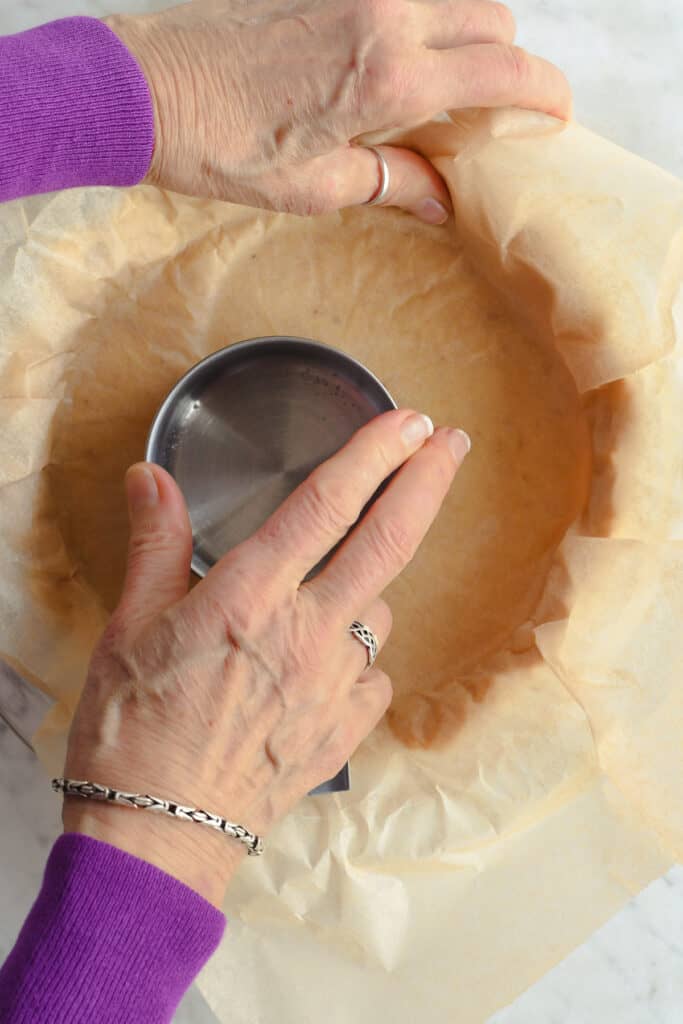
To spread the dough into the pie pan use your fingers to start. Then top with a piece of parchment paper and spread it evenly pressing down and spreading out to the sides using the bottom of a 1 cup measuring cup.
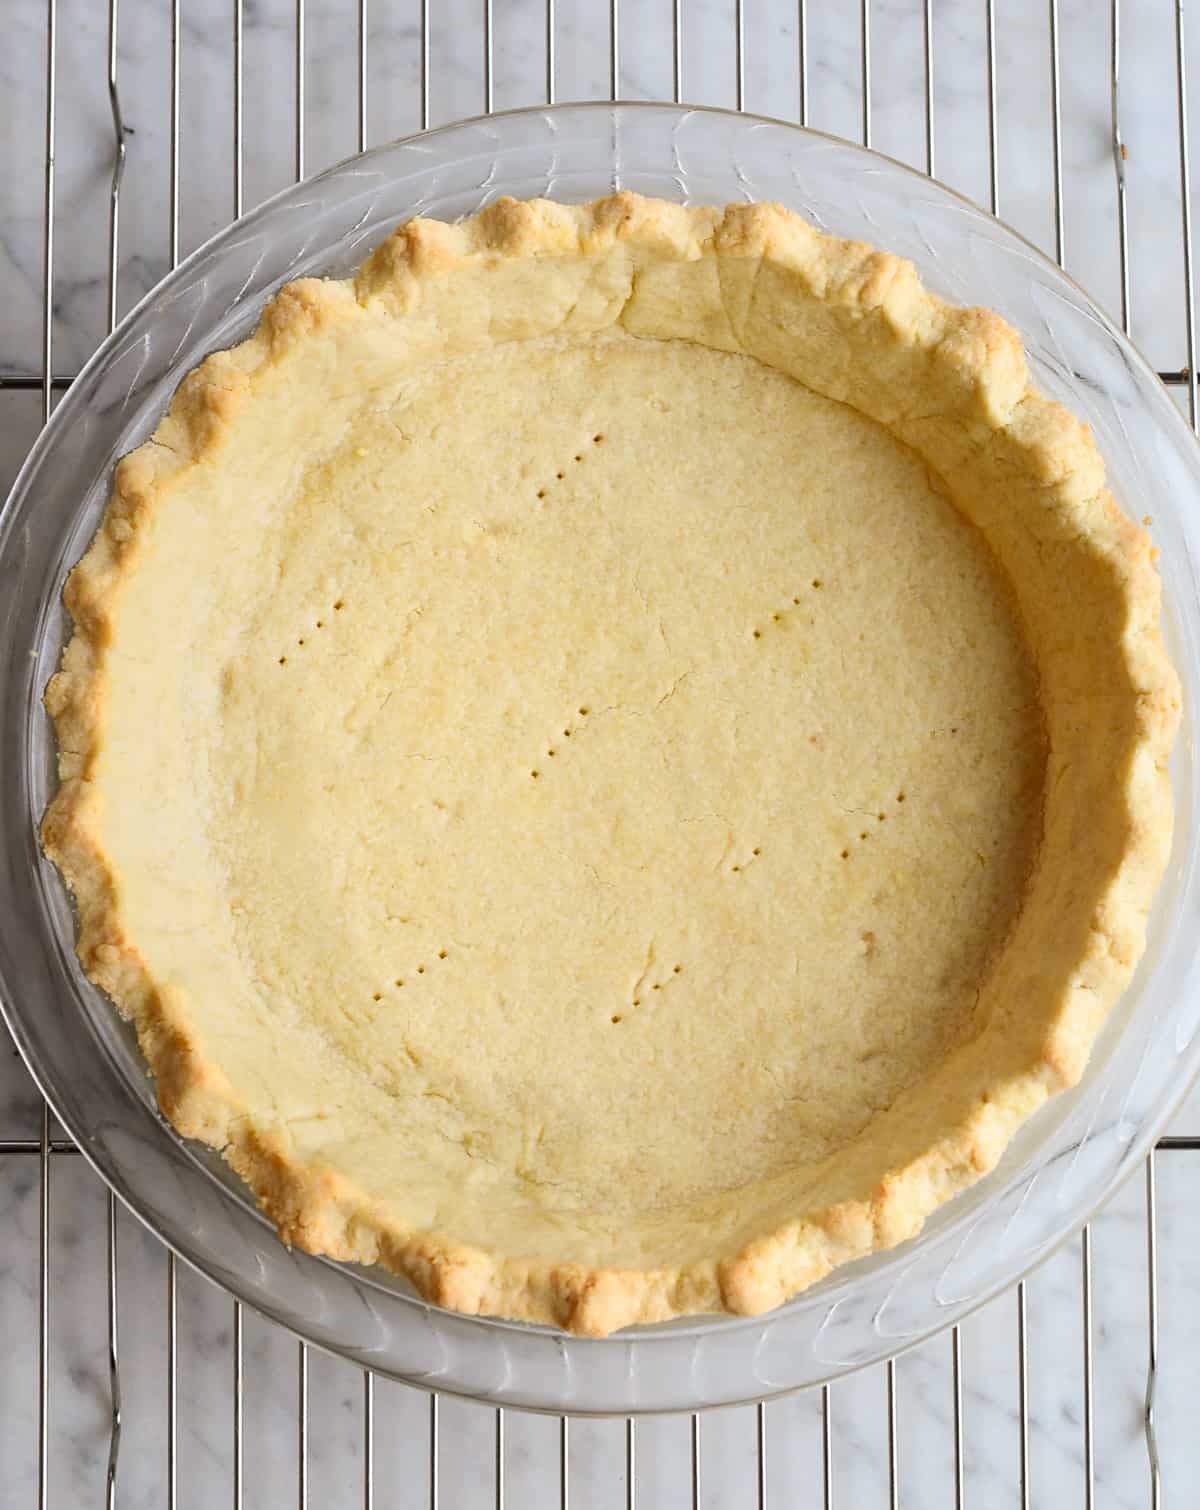
Use a fork to place a few holes in the bottom of the crust so it does’t puff up while baking.
Bake 12 minutes to let the crust set. Pre-baking the crust is an important step to get that perfect texture. Allow to cool for 5 minutes before pouring in the filling
Tips To Make the Pumpkin Filling
Soak cashews for 30 minutes in boiling water, drain and rinse. blend with water for 1 minute. This can be made 1-2 days in advance.
Make sure your eggs are at room temperature to get a nice creamy custard once baked.
Using both maple syrup and maple (or coconut) sugar gives the best texture and taste. If you use all maple syrup, the filling will be a little softer and you’ll have to bake it longer. If you use all coconut sugar the filling a little less creamy and will look a little darker. The taste is good either way.
Add the eggs one at a time and mix thoroughly. I use a fork and rubber spatula. Don’t over mix, you’ll get too much air in the filling.
Use fresh pumpkin pie spice and cinnamon. If your spices are more than a year old get new ones, it will have a better flavor.
Pour the filling into the cooked and cooled crust. Cover the edges with a pie shield or aluminum foil to prevent them from browning too much. Here is a video How to Make a Pie Shield with Aluminum Foil
Once baked, cool completely at room temperature before chilling in the refrigerator. If your pie cools too fast, the filling can crack. But don’t worry even if it cracks it will still taste good and you can cover it with coconut whipped cream.

I hope you love this paleo pumpkin pie as much as I do. The filling is super luscious thanks to the cashew cream. It’s full of nutritious ingredients with just the right amount of sweetness. The natural sweeteners bring out the flavor of the pumpkin spices.
Enjoy your Thanksgiving feast with your family. Love them up just the way they are. Put your attention on what you like about them. They will show you those characteristics.
If you like this recipe, try these other Thanksgiving desserts:
- Chocolate Pumpkin Tart
- Creamy Paleo Pumpkin Cheesecake
- The Best Paleo Pecan Pie Bars
- Pumpkin Apple Upside Down Cake
- Paleo Apple Coffee Cake
Would you like to have more of these delicious healthy recipes sent to you each week? CLICK TO SIGN UP for my weekly email newsletter of recipes and tips for you to eat well and enjoy your wonderful life.
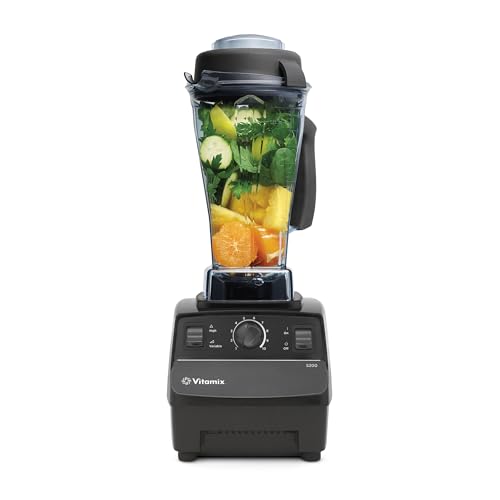
Note: This post contains Amazon affiliate links. This means that if you click on a link and make a purchase, I will receive a small commission at no cost to you. As an Amazon Associate, I earn from qualifying purchases. Thank you for supporting Eat Well Enjoy Life.
PrintPaleo Pumpkin Pie
A dairy free and gluten free pumpkin pie. The super rich and creamy filling is baked inside a flaky and buttery almond flour crust.
- Prep Time: 30 minutes
- Cook Time: 55 minutes
- Total Time: 1 hour 25 minutes
- Yield: 8 servings 1x
- Category: Dessert, Breakfast, Snack
- Method: Bake
- Cuisine: Paleo, Grain Free, Gluten Free, Dairy Free, Vegetarian
Ingredients
Crust
- 1 cup blanched almond flour (112 grams)
- 2 Tablespoons coconut flour (14 grams)
- 2/3 cup tapioca flour (85 grams)
- 1/2 cup palm shortening, cold (96 grams) or grass-fed butter, or a combination of both
- 1 Tablespoon maple sugar or coconut sugar*
- 1/4 teaspoon fine grain sea salt
- 1 pastured egg beaten
Filling
- 1 cup cashew cream (recipe below)
- 15 oz can pumpkin puree
- 1/4 cup pure maple syrup
- 1/4 cup maple sugar or coconut sugar
- 2 teaspoons pure vanilla extract
- 1 Tablespoon pumpkin pie spice
- 1 teaspoon cinnamon
- Pinch sea salt
- 2 large pastured eggs, room temp
- 1 pastured egg yolk, room temp
Cashew Cream
- 1/2 cup raw cashews, soaked in boiling water for 30 minutes or overnight in the refrigerator
- 3/4 cup filtered water
Instructions
- Chill your shortening. If using butter it’s probably already in the refrigerator.
- Take eggs out of the refrigerator and let come to room temperature.
- Make the cashew cream. Soak cashews in boiling water for 30 minutes. Drain and rinse. Blend for 1 minute until smooth. This can be made up to 3 days ahead of time. Any leftover can be added to your coffee, tea, oatmeal or smoothie.
- Preheat your oven to 375 degrees F.
- Make the Crust: Sift almond flour, coconut flour, tapioca flour together right into the bowl of a food processor. If making without a processor, see instructions in the tips for making the crust.
- Add the shortening, maple sugar and salt and pulse to create thick crumbs, 5-10 pulses. Add and pulse/process in the egg until a dough forms.
- Gather the dough into a ball, wrap in plastic, and chill in the refrigerator at least 20 minutes prior to pressing or rolling into your pie dish.
- Remove the dough from the refrigerator and use your fingers to push the dough into a 9-inch pie pan (see tips). You can also roll it out between two pieces of parchment.
- Once pressed into the pie dish, gently pierce the dough with a fork a few times so it doesn’t puff up while baking.
- Bake pie crust in 9” pie dish in the 375 degree oven for 12-15 minutes until bottom is set. Remove from oven and allow to cool for 5 minutes before pouring in filling.
- Make the Filling: Whisk all ingredients except eggs, then whisk in eggs and egg yolk 1 at a time, don’t over mix.
- Pour filling into partially baked crust, spreading it all around to seal edges. Cover crust with aluminum foil and bake (at 375 degrees F) for 55-65 minutes or until center is nearly set (still a bit jiggly).
- Allow to cool completely at room temperature to avoid excessive cracking of the filling. Once cooled, chill for 1 hour or serve warm.
- Store covered in the refrigerator for up to 2 days.
- To freeze cover with plastic wrap and foil and freeze for up to 1 month.

Notes
Coconut sugar will make the crust and filling a darker color than the maple sugar but it will taste just as good. Coconut sugar is easier to find in your local health food store.
Love pumpkin pie
Thanks Roger it’s one of my favorites too!